Showing posts with label Photography. Show all posts

Monday, July 22, 2013

First Birthday!!

So the photos will finally reveal R2D2's name.  We chose to name her Brianna.  I love her name!  It's Irish for strong and I think it fits her perfectly!

If you haven't picked up on it yet, I love arts and crafts, often to the point of losing sleep to finish them. I knew I wanted to make Bri's birthday special, so arts and craft time it was!!  I used etsy a lot, man I love that site!

We'll start with her smash cake.  For her actual birthday, I made it into a little photo shoot. :) 


I think it's an understatement to say she enjoyed her cake.  I used the Wilton tip 2D to make the rosettes.

 Of course I needed to buy here a special birthday outfit. Ends up, I bought two for her.  I absolutely, absolutely loved her dress.  Photo courtesy of Lisa Marie Photography and dress made by OsEsterninhos.

And her shirt was made by The Sassy Squirrel Mom-mom bought her this chair for her birthday.  She loves it!!

Bib made by Julianne Originals and banner by Creative Party Banners.

I spray painted the letters, made the flowers out of felt, and then glued all onto the wreath.

I saw the frame on clearance in Michael's.  I didn't know how I was going to use it, but couldn't pass up the price.  I like the B in the middle!

 I displayed her basket pictures in our dining room.

 And her cake, labor of love!  Despite being time consuming, I found the cake decorating relaxing.  The butterflies are actually edible, and I thought they looked very realistic. I purchased them from Sugar Robot.  For the cupcake stand, I spray painted Wilton's white cardboard stand.

I think Brianna had a wonderful first birthday.  Mommy and Daddy love you very much!!

Sunday, April 21, 2013

9 Month Sneak Peak!

I took R2D2's 9 month pictures today.  I'm so glad I kept snapping after we finished our basket shots.  This is my new most favorite picture of her!

Saturday, August 18, 2012

Happy 1 Month!

Wow, it's hard to believe R2D2 is one month old already. Yes, there were some long days, but overall it went fast, too fast. (Honestly, not too fast, I'm anxiously awaiting more head control and interaction, but I digress).

I'm fortunate enough to still be on maternity leave, so we had the opportunity for a mini photo shoot! I think the laundry basket photo is my favorite, well honestly, I love all of them. I love watching her facial expressions and hearing her start to realize she can make sounds other than crying.
We don't quite have a schedule yet.  Sometime she takes long morning naps, and other days it's afternoon naps.  Just when I try to do something, she changes her routine up.  We're continuing to breast feed and she's a champ!  The past two days I think she's been in a growth spurt because she's waking more at night to feed.  For about 3 days in a row she slept 5 hours at night.  I was in heaven.

She's still a little peanut, but has exceeded her birthweight, which makes Mommy happy.  My liquid gold is working!  She is still in size newborn clothing and diapers.  The onesie in this photo is a size 0-3 months, which is starting to fit her better.  At her 1 mos check up, she weighed 7 pounds, 9 ounces and was 21 inches in length.

We've started to get out of the house more and R2D2 loves car rides!  She loves to be held when she's awake, which is increasing.  She enjoys the swing and vibrating chair, but not for more than 10-15 minutes if she's awake.  I have taken to using the Moby to try to get things done.  Bath time is hit or miss, but she loves the sound of running water!
And to close things, here is our first family portrait!  Love you! (Family photo taken by Lisa Marie Photography).

Tuesday, July 31, 2012

Some Pictures

I love looking at newborn photos. We had some taken, now I just have to wait. However, since I want to better my photography skills, I decided to try my hand at taking some of my own photos. Yeah, not as easy as the professionals make it look!

 Headband from Celeste and Company on Etsy

Monday, October 3, 2011

When the Cat's Away...

..the mice will play. Ok, I'm not quite a mouse, but I had a blast taking some food photos today. I had an unexpected day off, so I was able to take advantage of some natural light. I wish it was sunnier out, but oh well.
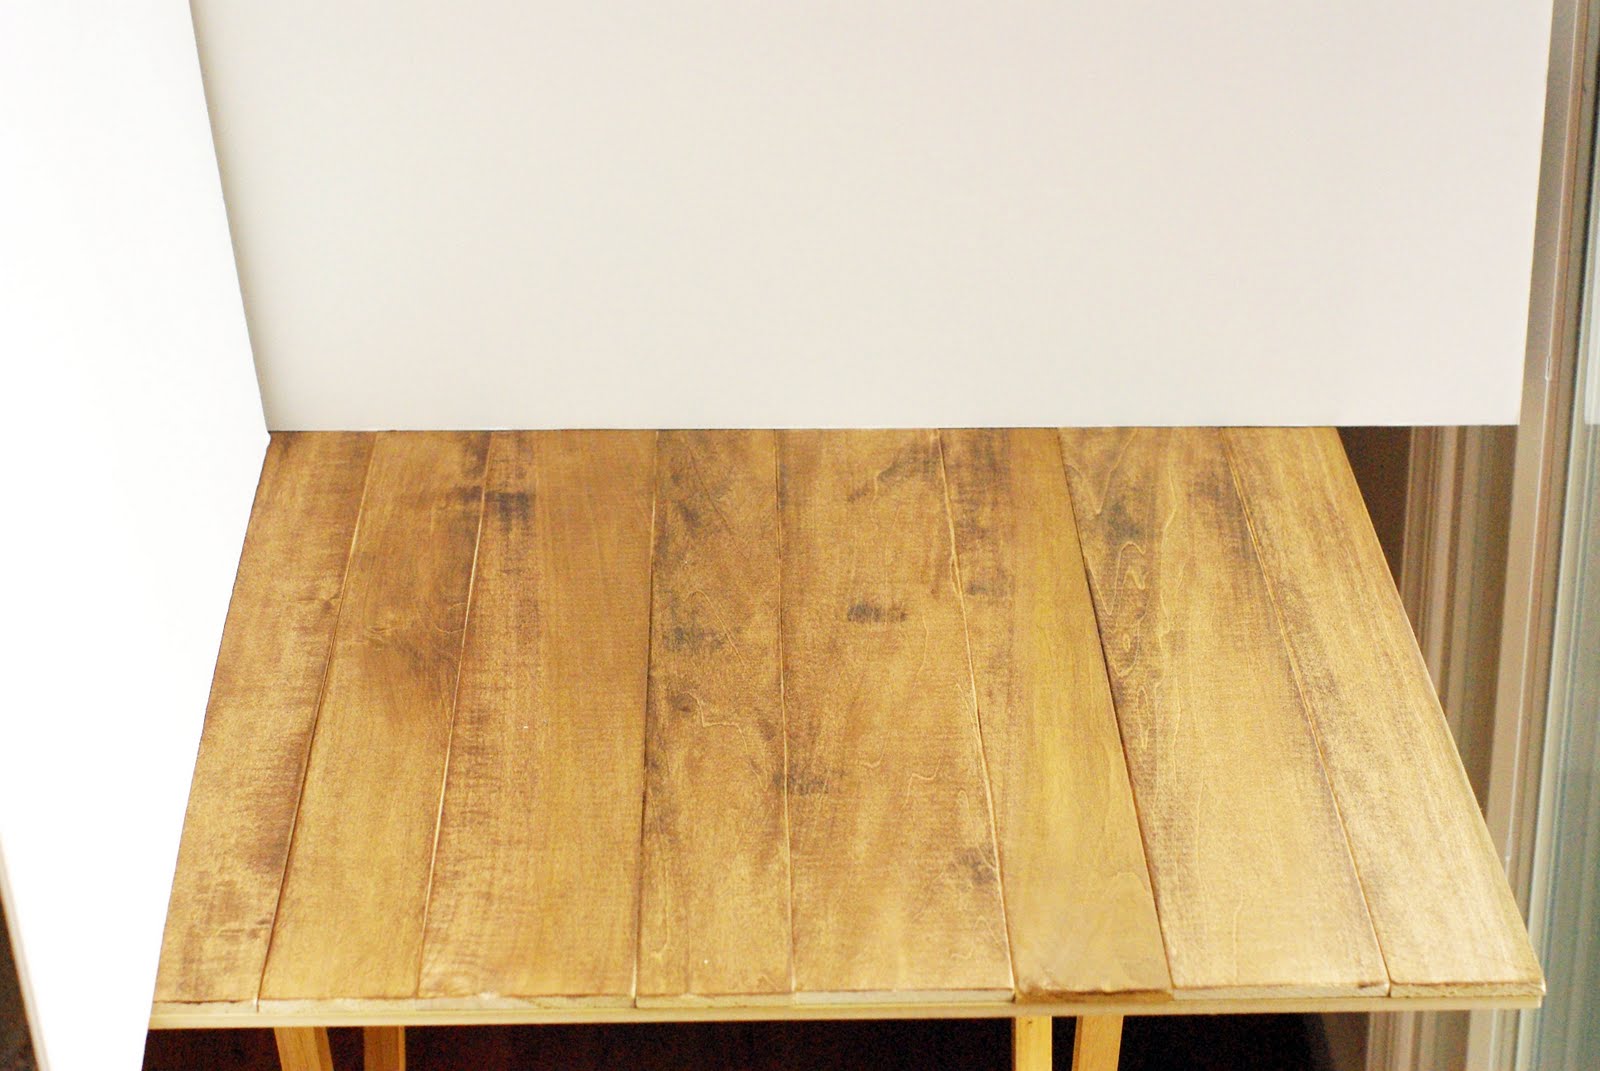
This weekend I made this table-top. It was inspired by Love and Olive Oil and Confections of a Foodie Bride In this photo, it only has the stain. I've since added some white paint. Despite how hard I tried, I couldn't get an aged look with my paint. I'll see how it looks when it dries, but I think I used too much paint. I still have to stain the otherside of the table top, but I haven't decided if I'm going to paint it or not. (The table top is just the planks, I have it sitting on a tv-dinner stand.)

If you're going to make one of these table tops, which I highly recommend, go straight to Lowe's for the wood. I didn't find it at Home Depot and it was about a third more expensive at the craft stores. Over all, it was super easy to make.
Well, back to taking food photos. From reading food blogs for a couple of years now, I've learned white boards help bounce the light. I agree, they add such an affect. It was nice having the natural light and my "studio" set up for two sittings before hubby came home. No fear, deary, we have our dining room back.

Tuesday, May 10, 2011

Photoshop Confession

I don't wear make up on a daily basis, I prefer the extra sleep. Sometimes when I go out, especially post-call, I'm too tired/lazy to do make up. I confess, if that is the case, I sometimes draw in eye-liner and decrease the circles under my eyes in photoshop.

For example....

Joe shakes his head, but hey, if I can do it, why not?

Sunday, May 16, 2010

Just call me Dr. Amanda!

Yesterday I officially received my M.D. It's been a long journey and I still have so much to learn. I haven't quite gotten used to the fact that I'm a doctor now. I hope to write more soon. It's been crazy packing up the house and I'm hitting the road tomorrow.

And for my photo friends, here's the original I used to make the above photo. Loving photoshop elements, coffeeshop's perfect portrait action, and Shadowhouse's textures!


Crazy it's the same photo, eh?

Saturday, April 3, 2010

Fix It Friday - 49

 
Again late, but better than never, eh?


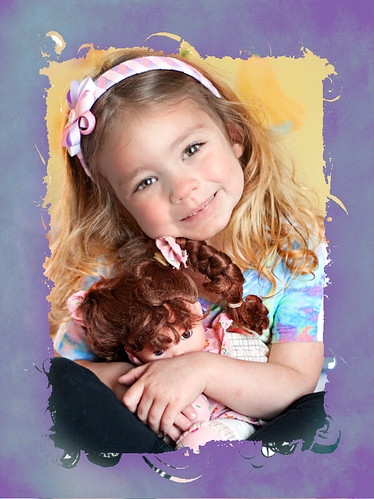
Left is the original, and the right is my edit.  I decided to add some flair this week.

After using Coffee Shop's Perfect Portrait action, I used Shadowhouse Creation's layer mask and filled the color to purple. I wanted some texture, so I used Coffee Shop's texture applicator action to add Shaddowhouse's Baybou Blue texture. The action adds a layer mask, so I used that to and a soft brush to remove the texture over the face.

I still need practice figuring out skin tones. Every week I'm not satisfied. Maybe eventually I'll get it.

Sunday, March 28, 2010

Fix It Friday - 48

I know I'm a couple of days late, but it's still fun and useful to give the editing an attempt.  I've downloaded quite a few actions from Coffee Shop, but I've yet to give them a try. For today's edit, I used Coffee Shop's Perfect Portrait action following the wonderful tutorial from Texas Chick. Let me just say, I love this action! I definitely need to play around with it more to become more efficient, but it's so nice having everything in one place.

Here's the before: 
And my edit:
I'm still not completely satisfied with the skin tone, but I can only try so much at once. Either way, I definitely think it has fewer shadows and better coloring.

Friday, January 29, 2010

Fix It Friday - 42


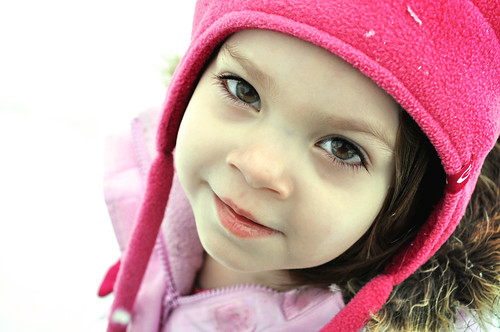
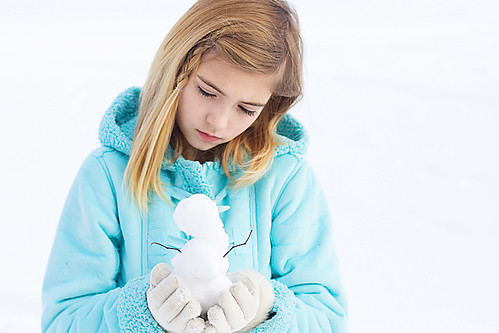
This week's photo challenge on I Heart Faces was texture. The blog encouraged we use texture in our edit this week. I played around with it briefly, but I kept coming back to the simplicity and beauty of the snow as a background. So, no texture for me this week.

I'm still learning how to optimize Photoshop Elements and for this edit, I basically followed Pioneer Woman's tutorial

Before:

My Edit:

Monday, January 25, 2010

I heart faces challenge - texture

Love my hubby!

Friday, January 22, 2010

Poppy Daydream Tutorial

I've realized the only way I'm really going to learn better editing and fun stuff in Photoshop Elements is to do tutorials. And hence I followed I heart Faces' Poppy Daydream Tutorial on this exciting Friday night. (Joe did offer to take me to the movies, but we need to save money, so I chose the internet instead). The tutorial is actually for photoshop, so I had to skip or improvise some steps. Either way, I'm definitely learning.

I think it's sad to say that before tonight I never knew what screen and soften light layers were. Shaking my head, I know. AND before tonight, I never used veils or added textures to photos. Man, you can do so much in photoshop (elements)! So these posts could be boring, but oh well. As long as time allows, I'll probably keep doing these tutorials and post my before's and after's.

To those who create the tutorials, thank you!

Left, before. Right, after.

Fun, eh?

Camera Metering Modes

In order for cameras to tell how much light is available, they use a light meter. I came across this article on metering and realized I need to give it at try.

Again, more flowers.

Since I just learned the importance of white balance, before I tried metering, I wanted to balance my light.

Left is auto balanced, right is manual. I think the flower colors are more true in the right.

Now onto metering. It probably is easiest to see the difference when side by side, so I'll do that again.

Left: 16 points to measure the light. Middle: spot metering Right: Center Weighted
It's a subtle but noticeable difference.

Thursday, January 21, 2010

Week 3 - White Balance

Ahh, wondering where week 2 went? No fear, I completed the lesson and understood shutter, I was just too lazy to posts my pictures.

So that brings us to this week's lesson - white balance. This is a very sore topic for me because I feel that our wedding portraits had horrible white balance. That's neither here nor there, though.

If you're following along, or if you're new and you'd like to know what lessons I'm talking about, you can find them here.

A dear friend once said she hopes I find something other than flowers to use to take pictures. I love my flowers and don't find Joe's video games nearly as exciting, so flowers it is.

Once again, these are straight out of the camera (SOOC) for my learning benefit. Aperture priority is my favorite, so that's what I used. Yes, I know some of the are out of focus, but I had to use a low f-stop to get enough light in. Sometimes it still wasn't enough light I had a camera shake. I could pull out a tripod, but that's too much work for this lesson.

This is auto white balance - aka the camera chose what to use.

Daylight setting

Tungsten setting. Way too blue!

Fluorescent setting.

Manual balance--meaning I held up a white piece of paper to manually set my white balance.

In order for me to truly see the difference between auto and manual, I need to see them side by side.

Left is auto white balance and right is manual. Seeing them side to side, I can definitely tell a difference and think the right is more true to the actual colors. I received a white balance card for Christmas, so I'll to play around with that too.

Friday, January 8, 2010

One Photo Three Different Ways

One of the great things about digital photography and editing software is the ability to adjust photos in so many different ways.


I think this might be my favorite. I think it has a very Victorian feel.
Related Posts Plugin for WordPress, Blogger...